Using Hubot with slack
02 June 2016
I have been playing around with hubot and slack. This post describes the steps I used to setup a hubot that uses the slack adapter.
At a high-level, the following steps are needed to create the bot:
- Add the hubot app integration to the slack team
- Create a hubot
- Deploy the hubot
Add the hubot app integration to the slack team
I added the hubot integration by doing the following:
-
In the slack team I went to -> Apps & integrations -> searched for ‘hubot’ -> and clicked the install button (Note: administrators can set who is allowed to install apps, so you may or may not have permission to do this.)
-
I followed the prompts, giving my hubot a name. I chose ‘hugo’. At the end of the process a page is displayed that gives the
HUBOT_SLACK_TOKEN. This token is needed in the next step. -
Additional details like the bot’s icon can also be set on that page.
Create a hubot
I followed the instructions from the hubot documentation to create my hubot. One thing to note: ensure you specify slack as the adapter when you go through the generator process OR provide slack as the adapter option on the command line. Example:
yo hubot --adapter=slack
Specifying slack as the adapter will do the following:
- install the hubot slack module
- set the contents of the Procfile file to contain:
web: bin/hubot -a slack
At the end of this process I had a basic hubot which I could run locally. The command to run it is:
HUBOT_SLACK_TOKEN=XXXXXXX ./bin/hubot --adapter slack
Next, in my slack team, I invited ‘hugo’ to the channel I wanted it to join: /invite @hugo
I could now interact with ‘hugo’. Yay!
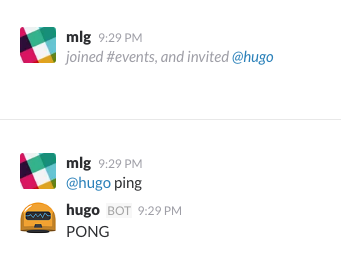
While getting the basic bot up and running was satisfying, playing ping/pong with hugo gets boring quickly. Fortunately, there are many hubot plugins that can be installed and you can also write your own.
Deploy to Heroku
Running the bot locally is fine for development, but it will need a better place to live longterm. Heroku seems to be the de facto place to deploy hubot and is what I used.
I followed the instructions on how to deploy to Heroku. There are a couple of slack specific environment variables I needed to set:
- HUBOT_SLACK_TOKEN: this is from the above step
- HEROKU_URL: I got this from heroku -> apps -> settings -> scrolled down to Domains. Note: It is possible to add a custom domain or use the Heroku domain. I used the Heroku domain .i.e. jupiter-marine-12345.herokuapp.com (and no, this isn’t hugo’s actual Heroku URL)
At the command line, I set the variables using the following:
heroku config:add HUBOT_SLACK_TOKEN=xxxx
heroku config:add HEROKU_URL=https://jupiter-marine-12345.herokuapp.com
NOTE: If you did NOT specify slack as the adapter when you created your hubot but rather installed it afterwards, then you will need to modify the Procfile to contain: web: bin/hubot -a slack. This change will need to be git committed and pushed to heroku (git push heroku master).
After following the instructions, I git committed and pushed my bot to heroku which started it automatically. I stopped it by running the following command:
heroku ps:scale web=0
It can be started again by running the command:
heroku ps:scale web=1
And that’s it! If you notice anything wrong in this blog post or have another way to do it, please let me know! Happy botting!
